
Whip up your own gluten-free magic with This Gluten-Free Chickpea Pita bread recipe.
Craft your own gluten-free Chickpea Pita Bread from scratch with this straightforward recipe. Combining chickpea flour, psyllium husk, and a few pantry staples, these pitas are hearty, vegan, and perfect for any meal. With simple steps and minimal fuss, enjoy the satisfaction of homemade goodness in every bite.

To store your homemade gluten-free chickpea pita bread, follow these steps:
- Cool Completely: Allow the pitas to cool completely at room temperature before storing to prevent condensation and sogginess.
- Wrap or Seal: Once cooled, individually wrap each pita in plastic wrap or place them in an airtight container. Alternatively, you can stack them with layers of parchment paper in between to prevent sticking.
- Refrigerate: Store the wrapped or sealed pitas in the refrigerator for up to 5-7 days. Refrigeration helps to maintain freshness and extend their shelf life.
- Reheat (if desired): When ready to enjoy, you can reheat the pitas in a toaster, oven, or microwave until warmed through. They can also be enjoyed cold or at room temperature.
- Freeze (optional): If you want to store the pitas for a longer period, they can be frozen. Wrap each pita individually in plastic wrap and then place them in a freezer-safe bag or container. They can be frozen for up to 2-3 months. To thaw, simply remove them from the freezer and let them thaw at room temperature or in the refrigerator overnight before reheating or serving.

Here are some possible substitutions for the ingredients in the gluten-free chickpea pita bread recipe:
- Chickpea Flour:
- If you don’t have chickpea flour, you can try using other gluten-free flours such as almond flour, coconut flour, or a gluten-free all-purpose flour blend. Keep in mind that the flavor and texture may vary slightly with different flours.
- Whole Psyllium Husk:
- Psyllium husk adds structure and elasticity to gluten-free baked goods. If you don’t have it, you can try using ground flaxseeds or chia seeds as a substitute. Mix 1 tablespoon of ground flaxseeds or chia seeds with 3 tablespoons of water and let it sit for a few minutes until it forms a gel-like consistency.
- Tapioca Starch:
- Tapioca starch helps improve the texture of gluten-free baked goods. If you don’t have it, you can try using arrowroot starch or potato starch as a substitute in equal amounts.
- Coconut Sugar:
- Coconut sugar adds sweetness to the pitas. You can substitute it with granulated sugar, brown sugar, or any other sweetener of your choice in equal amounts.
- Instant Yeast:
- If you don’t have instant yeast, you can use active dry yeast instead. However, active dry yeast needs to be activated in warm water before using. Follow the manufacturer’s instructions for proofing the yeast before adding it to the recipe.
- Olive Oil:
- Olive oil can be substituted with other vegetable oils such as avocado oil, coconut oil, or melted vegan butter in equal amounts.
If You Make These, Be Sure To Tag Me On Socials @happybellycreations
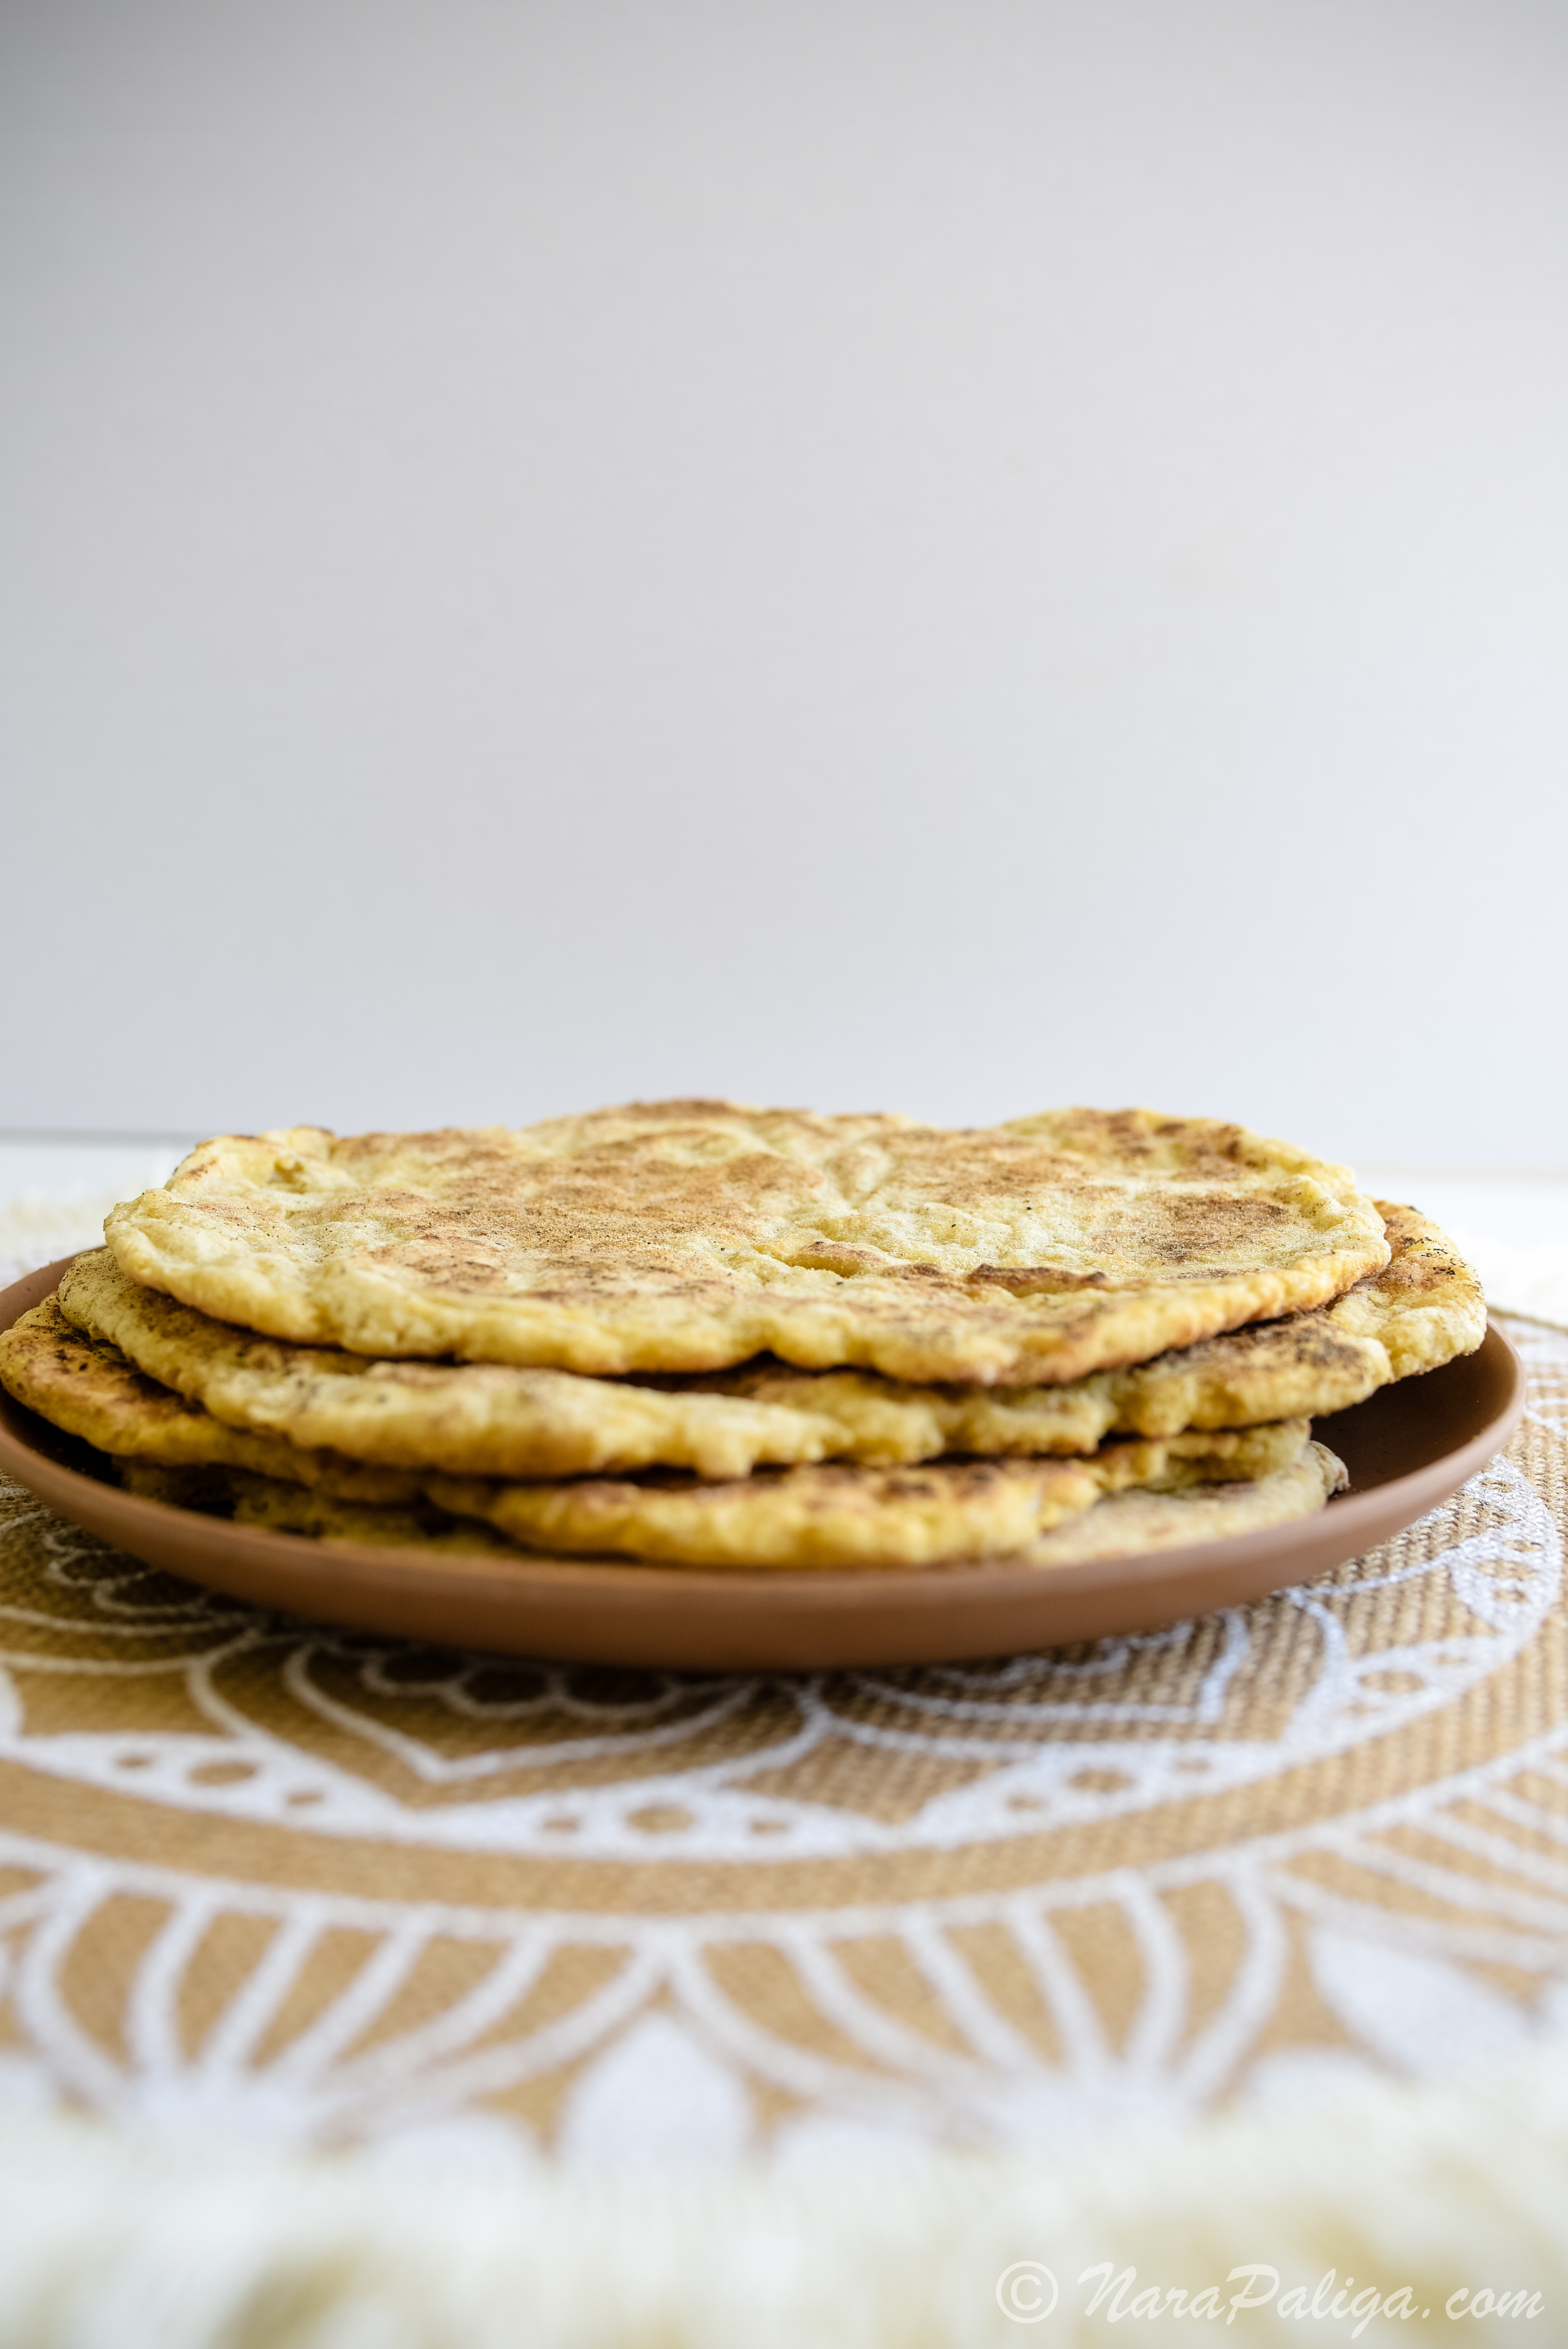
Gluten-Free Chickpea Pita Bread
Craft your own gluten-free Chickpea Pita Bread from scratch with this straightforward recipe. Combining chickpea flour, psyllium husk, and a few pantry staples, these pitas are hearty, vegan, and perfect for any meal. With simple steps and minimal fuss, enjoy the satisfaction of homemade goodness in every bite.
Ingredients
Method
- Activate the yeast: In a small bowl, combine the lukewarm water, coconut sugar, and instant yeast. Let it sit for about 5 minutes until the mixture becomes frothy.
- Mix dry ingredients: In a large mixing bowl, whisk together the chickpea flour, whole psyllium husk, tapioca starch, and salt.
- Combine wet and dry ingredients: Pour the yeast mixture and olive oil into the dry ingredients. Mix well until a dough forms. If the dough is too dry, add a little more water, 1 tablespoon at a time. If it's too wet, add a bit more chickpea flour.
- Knead the dough: Lightly flour a clean surface with chickpea flour. Transfer the dough onto the floured surface and knead it for about 5 minutes until smooth and elastic.
- Place the dough back into the mixing bowl and cover it with a clean kitchen towel. Let it rise in a warm place for about 1 hour, or until it doubles in size.
- Divide and shape the dough: After the dough has risen, divide it into 6 equal portions. Roll each portion into a ball and then flatten it into a disk, about ¼ inch thick.
- Cook the pitas: Heat a non-stick saucepan over medium heat. Lightly brush the pan with olive oil. Place one flattened dough disk into the pan and cook for about 2-3 minutes on each side, or until golden brown and puffed up. Repeat with the remaining dough disks.
- Serve: Once cooked, remove the pitas from the pan and let them cool slightly before serving. They can be served warm or at room temperature.
One response to “GLUTEN-FREE CHICKPEA PITA BREAD”
[…] viral Flatbread recipe is designed for simplicity and convenience. Here’s why it’s so easy to […]